

If you’re a WordPress self-hoster and you’re anything like me, you’re constantly tweaking, moving posts from staging systems to live, and then exporting content again to a new development installation to try out new themes and configurations. Exporting and importing with wp-cli has become almost second nature. And yet I find myself having to look up how to do it every now and then. So here’s my note to self.
A quick primer. wp-cli is a Swiss army knife for managing WordPress from the command-line. Many WordPress users prefer a graphical interface for their administration needs. I’m the opposite. I love WordPress, but when it comes to installation, plugin and database management, I prefer the power and scriptability of the command-line.
To follow this post you will need two WordPress installations – a source and a target – and wp-cli installed on both host machines. Here’s how to install wp-cli. I’m going to use the Composer method, which means my path to the wp-cli executable is ./vendor/bin/wp.
Exporting and importing with wp-cli – export
Time to head to my source WordPress environment and export its posts and pages. This is as easy as:
$ ./vendor/bin/wp export
Starting export process...
Writing to file /var/www/getinstance/htdocs/getinstance.wordpress.2016-12-14.000.xml
Success: All done with export.
Starting export process...
Writing to file /var/www/getinstance/htdocs/getinstance.wordpress.2016-12-14.000.xml
Success: All done with export.
There are many options you can add to the export command which allow you to filter the types and dates of posts. But I want the lot so I can keep it simple. The data is exported in XML format. Now I just need to copy the output file across to my development server and run a couple of commands.
Exporting and importing with wp-cli – importing
Importing requires a plugin: wordpress-importer. Luckily I can use wp-cli to install plugins:
$ ./vendor/bin/wp plugin install wordpress-importer --activate
Installing WordPress Importer (0.6.3)
Downloading install package from https://downloads.wordpress.org/plugin/wordpress-importer.0.6.3.zip...
Unpacking the package...
Installing the plugin...
Plugin installed successfully.
Activating 'wordpress-importer'...
Plugin 'wordpress-importer' activated.
Success: Installed 1 of 1 plugins.
By using the --activate flag, I’m able to install and activate my plugin with a single command. Now that my WordPress environment is properly configured I can run the import:
$ ./vendor/bin/wp --authors=create import getinstance.wordpress.2016-12-14.000.xml
Starting the import process...

Processing post #1 ("Hello world! (Inevitably)") (post_type: post)
-- 1 of 59 (in file getinstance.wordpress.2016-12-14.000.xml)
-- Wed, 14 Dec 2016 20:19:05 +0000
-- Imported post as post_id #3
-- Added terms (1) for taxonomy "category"
-- Added post_meta default_thumbnail

....

Processing post #269 ("migrated") (post_type: attachment)
-- 59 of 59 (in file getinstance.wordpress.2016-12-14.000.xml)
-- Wed, 14 Dec 2016 20:19:19 +0000


<p>
  All done. <a href="https://getinstance.com/wp/wp-admin/">Have fun!</a>
</p>

<p>
  Remember to update the passwords and roles of imported users.
</p>
Success: Finished importing from 'getinstance.wordpress.2016-12-14.000.xml' file.
Notice that I used the --authors flag. This is mandatory, and it determines how ownership is handled. Because I chose create, any authors associated with posts will be added to the system. And that’s it! I’ve installed all my getInstance posts. To prove it, I’ll show you a screenshot – but for the sake of the look of the thing I’m going to delete my first post (that is the default Hello World article).
$ ./vendor/bin/wp --path=site/wp post delete 1
Success: Trashed post 1.
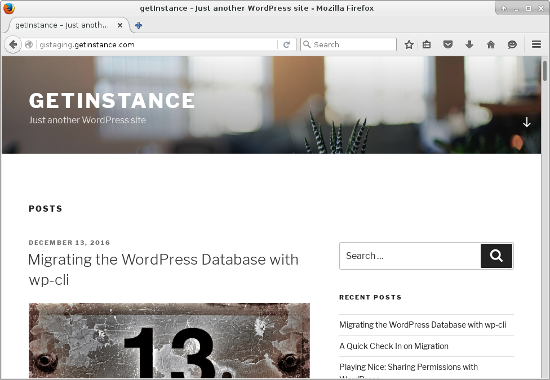
And here’s my newly populated blog!
A slightly more rambling version of this article appeared as part of the 2016 Advent Series
Import-Export Juicy Paris by _Denis Bocquet is licensed under CC BY 2.0_